People may still rarely use this type of presentation. This is Photo Album, a convenience provided by Ms PowerPoint to create presentations like the photo album. Photo Album has a function to display your personal or business photographs. You can add effects that include attention-grabbing slide transitions, an appropriate template, specific layouts , and more. After the pictures are in your album, you can add captions, adjust the order and layout, add frames around the pictures, and even apply a theme to further customize the look of your album. That’s easy, consider these steps:
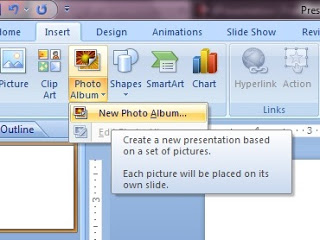
- On the Insert tab, in the Illustrations group, click the arrow under Photo Album, and then click New Photo Album.
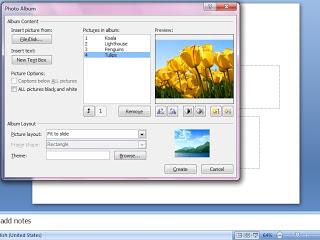
- In the Photo Album dialog box, under Insert picture from, click File/Disk. In the Insert New Pictures dialog box, locate the folder that contains the picture that you want to insert, and then click Insert. If you want to preview a picture file in your photo album, under Pictures in album, click the file name of the picture that you want to preview, and then view it in the Preview window.
- If you want to change the order in which the pictures are displayed, under Pictures in album, click the file name of the picture that you want to move, and then use the arrow buttons to move it up or down in the list.
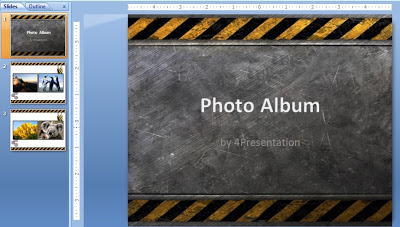
- In the Photo Album dialog box, click Create.
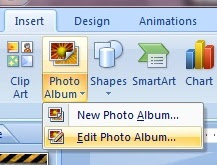
- If you are not satisfied and want to change or edit the album, on the Insert tab, in the Illustrations group, click the arrow under Photo Album, and then click Edit Photo Album.
- You can display all the pictures in your photo album in black and white, select a layout for your pictures and template for your photo album,
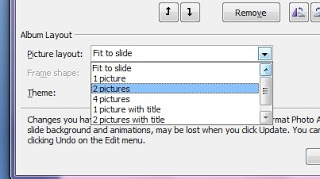

select a frame shape that looks good with all of the pictures,
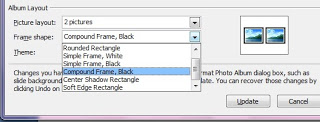

rotate, increase or decrease the brightness, or increase or decrease the contrast of a picture, in the Pictures in album list, and add animation effects to slides and pictures


- If it is finished, click Update.

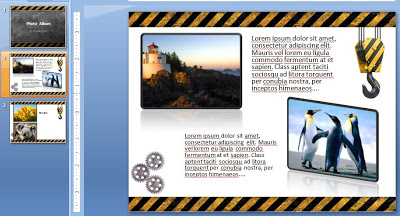
You can also edit the images to be like this:

- Good luck, we hope you liked this tutorial article. If you have other tips and tricks about PowerPoint, you can share it by sending it to admin[at]4presentation[dot]net.